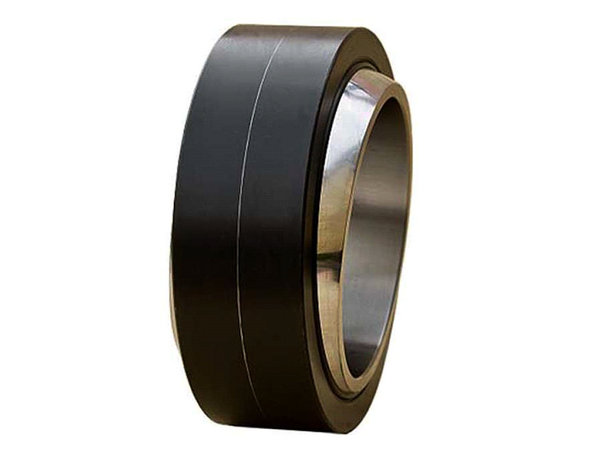
Selection standard for dimension reference of shaft sleeve parts
2023-03-31
Title:Selection standard for dimension reference of shaft sleeve parts
Name:Selection standard for dimension reference of shaft sleeve parts
Content:
1、 Classification of benchmarks
Classified by use basis: 1. Design basis. The points, lines, and surfaces used to determine the position of the part in the 6014 spider bushing machine are referred to as the design basis. 2. Process baseline. The benchmark selected for processing, measuring, and inspecting parts. According to the form of reference: ① reference point, a point on the surface of a part. ② Reference line, the axis of the rotational surface on the part. ③ A surface on a part that has the main assembly surface and support surface on the part; The main machining surfaces (positioning surfaces, contact surfaces) on the part; The symmetrical surface of the part (symmetrical in a certain direction).
2、 Selection of benchmarks
In order to reduce errors and ensure the design requirements of the parts, it is best to make the design basis coincide with the process basis when selecting the reference for the stainless steel shaft sleeve. If it is not possible to overlap, the functional dimensions of the parts shall be marked from the design basis, and the unimportant dimensions shall be marked from the process basis or according to the shape analysis method. When the stainless steel welding sleeve of a part is relatively complex, selecting only one benchmark in one direction is often not enough, and some benchmarks must be added. Among them, the ones that play a major role are called primary benchmarks, and the ones that play an auxiliary role are called auxiliary benchmarks. There should be a connection dimension between the main datum and the auxiliary datum.
3、 Selection standard for dimension reference of shaft sleeve parts
1. Selection of radial dimension reference
According to the structural characteristics of this part, the shape is relatively simple and regular, and most of them are composed of coaxial cylindrical rotating bodies of different sizes. The steps formed by unequal diameters can be used for axial positioning of parts installed on the shaft. Due to the needs of design, processing, and assembly processes, such parts often have chamfers, chamfers, threads, thread undercuts, grinding wheel overtravel grooves, keyways, and so on. The processing of shaft sleeves is based on Tihao. Most of the processing (rough machining, semi finishing) is performed on lathes, while a small portion of the processing (finishing) is performed on grinders or other machine tools. Lay the axis horizontally on the main view according to the machining position, and select the axis of this axis for the radial dimension reference, so as to unify the design requirements and the process reference during machining.
2. Datum selection for axial dimensions
Due to the large number of dimensions in the length direction, which end face should be selected as the main benchmark in the length direction. The main function of the bearing on this shaft is to support the mechanical rotating body, which is used to reduce the friction coefficient during power transmission and maintain the fixed position of the shaft center. Therefore, the performance of its various aspects directly affects the power and torque transmitted by the shaft, so the dimensional accuracy requirements for the connecting end faces of the shaft and bearing are high.
3. Look more at pictures and analogies; Multi practice, comparative method;
In order to properly indicate the dimensional reference in each direction for a given shaft sleeve type part drawing, it is necessary to understand the characteristics, functions, mutual positions in the machine, and the role played by the structural shapes of the various parts that make up the part. In fact, it is more like looking at pictures and using "analogies". Machining is a highly empirical work. In actual production practice, analyze and compare existing design ideas and add new design concepts. Relying on the "comparison method" of design and looking at drawings of the same type, how these drawings are handled on this issue can help to understand the problem of selecting dimensional benchmarks.
The selection of a part reference is determined by the processing technology or on-site processing conditions of the part. The processing of shaft sleeves is based on Tihao. Shaft sleeve parts are rotary parts. Considering that most of its processing (rough machining, semi finishing) is performed on a lathe, the main view generally selects the axis to be horizontally placed for projection. When selecting a reference, the axis of the part is often used as the radial dimension reference, which unifies the design requirements and the process reference during machining (when shaft parts are processed on a lathe, the two ends are pointed against the center hole of the shaft). The main reference in the length direction is often the important end face (the surface with the highest machining accuracy), contact surface (shaft shoulder), or important machining surface, Other benchmarks set for ease of processing and measurement are considered as auxiliary benchmarks.


 (Chat Online)